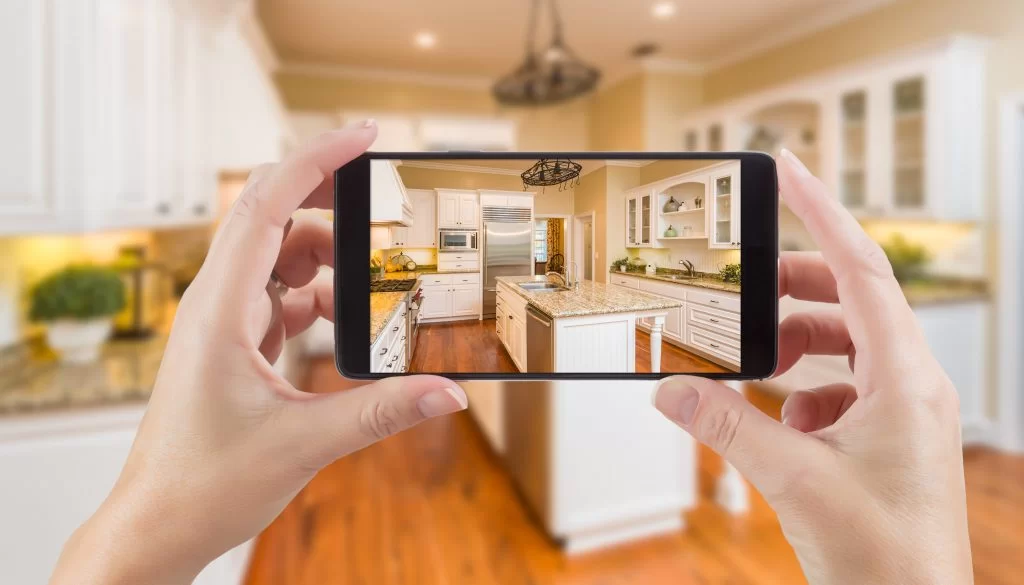
In this article, we tried to explain 8 tips for professional real estate photos with iPhone. Anyone can take great real estate photos with iPhone! There are a few simple tips you can use to ensure your property photos are of the highest quality.
Tip number 1: Exterior preparation of the house

For the outside of the property, we suggest tidying up the yard or lobby, cleaning the walls and entrance doors.
Tip number 2: Interior preparation of the house

For indoors, we suggest tidying up all beds, removing trash cans, hiding any visible wires, and keeping extra objects out of sight as much as possible.
Now that your home is ready, let’s get down to the fun part of photography.
Tip number 3: Horizontal, not vertical!

First, we suggest taking horizontal pictures so that you can show more parts of the room.
Tip number 4: Take a picture from a distance

In addition to shooting horizontally, go completely to the corner or end of the room or space. If you are too close, you may miss important parts of the frame. If your phone has a wide angle lens option, be sure to use it!
Tip number 5: Keep at the same level

Keep the phone straight and level. Although this can be adjusted with simple editing tools, it can make the photo look unrealistic. You can enable the Grid option on your phone to help you with this. See the instructions below to enable this feature.
Tip number 6: lighting

Now let’s talk about lighting. Make sure all the lights are on, and turn the blinds up at a 45 degree angle. Too much light from the windows may make the interior look darker.
Tip number 7: Turn off mobile devices

Turn off any moving equipment you have to avoid any movement that could ruin the photo.
Tip number 8: focus

Tap the center of the image to focus the camera. This also helps to adjust the exposure.
With these 8 simple tips, you’ll be taking great property photos in no time. Have fun shooting!


